

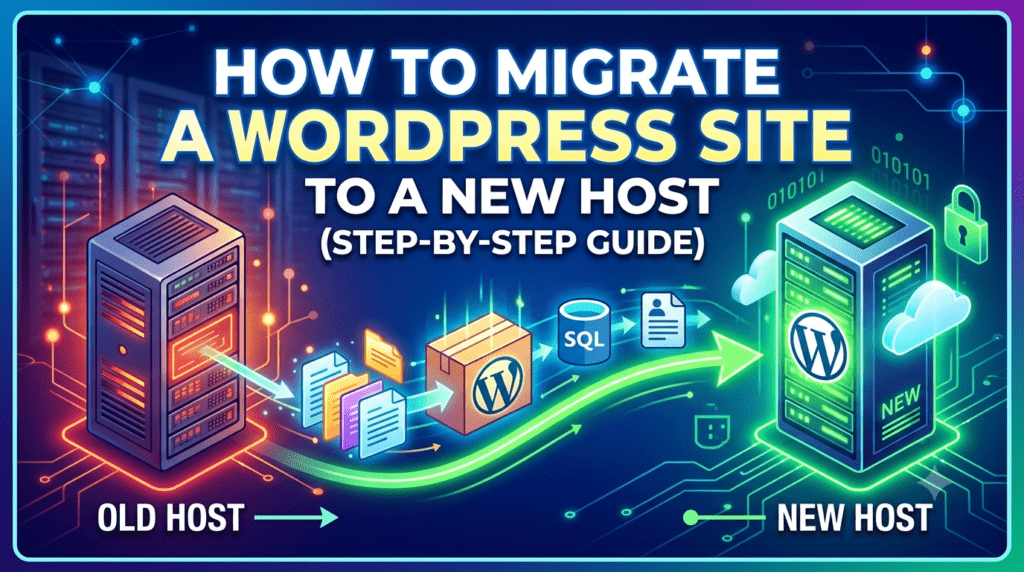
How to Migrate a WordPress Site to a New Host
Migrating a WordPress website to a new hosting provider may sound intimidating, but it’s a straightforward process when you follow the correct steps. Whether you’re moving to improve website speed, reduce hosting costs, or gain access to better features, a proper migration ensures your visitors experience little to no downtime.
This guide explains how to migrate a WordPress site to a new host manually, helping you understand every stage of the process. By the end, you’ll know how to back up your website, transfer files and databases, update your configuration, change DNS settings, and verify that everything works correctly.
Official WordPress Resource For additional guidance, see the official WordPress documentation on moving a site.
Why Move Your WordPress Website to a New Host?
Website owners change hosting providers for many reasons. Some of the most common include:
- Faster website performance
- Better customer support
- Improved security features
- More storage and bandwidth
- Lower monthly costs
- Better scalability for growing traffic
- Access to modern hosting technologies
If your current hosting service struggles with uptime, speed, or support, migrating can significantly improve your site’s performance and user experience.
Before You Begin
Before making any changes, gather the following information:
- Current hosting account login
- New hosting account details
- WordPress admin credentials
- FTP or SFTP login
- Database credentials
- Domain registrar access
Having these details ready will make the migration process much smoother.
Step 1: Choose the Right Hosting Provider
Selecting the right hosting provider is one of the most important decisions during migration. Look for features such as:
High Performance
Fast servers improve page loading times and help your SEO rankings.
Daily Backups
Automatic backups provide an additional layer of protection if something goes wrong.
Free SSL Certificates
An SSL certificate encrypts visitor data and is essential for website security. Learn more about how SSL certificates protect websites in the official documentation from Let’s Encrypt.
Automatic WordPress Updates
Keeping WordPress updated reduces security risks and improves compatibility.
Excellent Customer Support
Responsive support can save valuable time if you encounter migration issues.
Scalability
Choose a hosting provider that allows you to upgrade resources as your website grows.
Step 2: Create a Complete Backup
Never begin a migration without creating a full backup.
Your backup should include:
- WordPress files
- Themes
- Plugins
- Media uploads
- Database
- Configuration files
A backup ensures you can restore your website if anything unexpected happens during the migration.
Backup Your Website Files
Connect to your server using an FTP client or your hosting provider’s File Manager.
Download the entire WordPress installation folder, including:
- wp-admin
- wp-content
- wp-includes
- wp-config.php
- .htaccess (if present)
Store these files safely on your computer.
Step 3: Export the WordPress Database
Your database contains:
- Posts
- Pages
- Comments
- Users
- Settings
- Menus
- Widgets
To export the database:
- Log in to your hosting control panel.
- Open phpMyAdmin.
- Select your WordPress database.
- Click Export.
- Choose the Quick export method.
- Select SQL format.
- Download the exported file.
Keep this SQL file with your website backup. If you’re unfamiliar with database management, the official phpMyAdmin Documentation provides detailed instructions for exporting and importing MySQL databases safely.
Step 4: Set Up Your New Hosting Account
Once your new hosting account is active:
- Create a new database.
- Create a new database user.
- Assign the user to the database.
- Grant all privileges.
Write down:
- Database name
- Username
- Password
- Database host
You’ll need these details later when updating WordPress.
Step 5: Upload Your Website Files
Connect to the new hosting account using FTP or the hosting File Manager.
Upload every file from your backup into the public website directory, commonly:
- public_html
- www
- htdocs (depending on your hosting provider)
Large websites may take some time to upload, so avoid interrupting the transfer.
Step 6: Import the Database
After uploading the files:
- Open phpMyAdmin on the new host.
- Select your newly created database.
- Click Import.
- Choose the SQL backup file.
- Start the import process.
When completed successfully, all your WordPress content should now exist on the new hosting server.
Step 7: Update the wp-config.php File
Next, edit the wp-config.php file.
Update the following values with your new hosting credentials:
- Database Name
- Database User
- Database Password
- Database Host
Step 8: Update Your Domain’s DNS Settings
After uploading your files and importing the database, your website is ready on the new server. The final step is directing your domain to the new hosting provider.
To do this:
- Log in to your domain registrar.
- Locate the DNS or Nameserver settings.
- Replace the old nameservers with the new ones provided by your hosting company.
- Save the changes.
DNS propagation can take anywhere from a few minutes to 48 hours. During this period, some visitors may still reach the old server while others see the new one. This is normal.
Tip: Keep your old hosting account active until the migration is fully complete to avoid any downtime.
Step 9: Test Your Website
Before canceling your old hosting plan, thoroughly test your website.
Check the following:
- Homepage loads correctly
- Internal pages work
- Navigation menu functions properly
- Images display correctly
- Contact forms send emails
- Search feature works
- Login page is accessible
- Admin dashboard opens normally
- Plugins operate without errors
- Theme displays as expected
Browse your website on desktop, tablet, and mobile devices to ensure everything looks correct.
Step 10: Enable SSL
If your new hosting provider offers a free SSL certificate, enable it immediately.
After installing SSL:
- Update your WordPress Address (URL)
- Update your Site Address (URL)
- Force HTTPS across the website
- Test for mixed-content warnings
Most modern hosts allow you to activate SSL with a single click.
Step 11: Clear All Caches
Caching can cause visitors to see outdated versions of your website after migration.
Clear:
- WordPress cache
- Browser cache
- CDN cache (if applicable)
- Server cache
Refreshing these caches ensures visitors receive the latest version of your site.
Step 12: Check SEO Settings
A successful migration should not affect your search engine rankings if done correctly.
Verify the following:
Permalinks
Go to Settings → Permalinks and click Save Changes without modifying anything. This refreshes your permalink structure.
Robots.txt
Ensure search engines are still allowed to crawl your website.
XML Sitemap
Regenerate your XML sitemap if your SEO plugin supports it.
Google Search Console
Submit the updated sitemap and monitor crawl errors over the next few days.
Analytics
Confirm that Google Analytics or other tracking tools continue recording visitors correctly.
Common WordPress Migration Problems and Solutions
Even careful migrations can encounter issues. Here are some of the most common problems and their solutions.
Internal Server Error (500)
Possible causes:
- Corrupted
.htaccess - Plugin conflicts
- PHP version mismatch
Solution:
- Rename the
.htaccessfile and regenerate it. - Disable plugins temporarily.
- Ensure the new server uses a compatible PHP version.
Database Connection Error
This usually means WordPress cannot communicate with the database.
Check:
- Database name
- Username
- Password
- Database host
Also verify that the database user has all required privileges.
Missing Images
Broken image links usually occur when uploads were not transferred correctly.
Solution:
- Re-upload the
wp-content/uploadsfolder. - Check file permissions.
- Clear browser and CDN caches.
White Screen of Death
A blank page often indicates a PHP memory issue or plugin conflict.
Try:
- Increasing PHP memory.
- Disabling plugins.
- Switching temporarily to a default WordPress theme.
Redirect Loops
If your website keeps redirecting endlessly:
- Verify WordPress URL settings.
- Check HTTPS configuration.
- Review redirect rules in
.htaccess.
Manual Migration vs Migration Plugins
There are two common ways to move a WordPress website.
Manual Migration
Advantages
- Full control over the process
- No plugin limitations
- Better understanding of your website
- Suitable for advanced users
Disadvantages
- More time-consuming
- Greater chance of user error
- Requires familiarity with databases and FTP
Migration Plugins
Advantages
- Beginner-friendly
- Faster process
- Minimal technical knowledge required
- Often includes automated backups
Disadvantages
- Some plugins limit website size
- Premium versions may be required
- Less control over the migration process
Choose the approach that best matches your technical experience and the size of your website.
Best Practices for a Successful Migration
Follow these recommendations to minimize risks:
- Create multiple backups before starting.
- Perform the migration during low-traffic hours.
- Keep your old hosting account active for several days.
- Test every page before making the new site public.
- Update all plugins and themes after migration.
- Monitor server error logs.
- Check website speed after the move.
- Verify that emails continue working.
- Confirm scheduled tasks (cron jobs) still run correctly.
Frequently Asked Questions
Will I lose my SEO rankings after migrating?
No. If URLs remain the same and the migration is completed correctly, your rankings should remain stable. Temporary fluctuations during DNS propagation are normal.
How long does WordPress migration take?
A small website may take less than an hour, while larger websites with extensive media libraries can take several hours.
Will my website experience downtime?
If you keep your old hosting account active during DNS propagation, visitors should experience little to no downtime.
Should I back up my website even if my host offers backups?
Yes. Always keep your own backup before making major changes.
Can I migrate WooCommerce websites?
Yes. The process is essentially the same, but you should place the store in maintenance mode during the migration to avoid losing customer orders.
Do I need to reinstall WordPress?
No. You’re transferring your existing WordPress installation, including files and the database.
Conclusion
Migrating a WordPress website to a new hosting provider may seem challenging at first, but following a structured process makes it manageable. By backing up your website, transferring files and databases carefully, updating configuration settings, and thoroughly testing your site before going live, you can complete the migration with minimal disruption.
Choosing a reliable hosting provider is equally important. Better performance, stronger security, and responsive support can significantly improve your website’s user experience and long-term growth.
Whether you’re moving a personal blog, business website, or WooCommerce store, careful planning and testing are the keys to a successful migration.
12 WordPress Hosting Important Features You Should Never Ignore..