

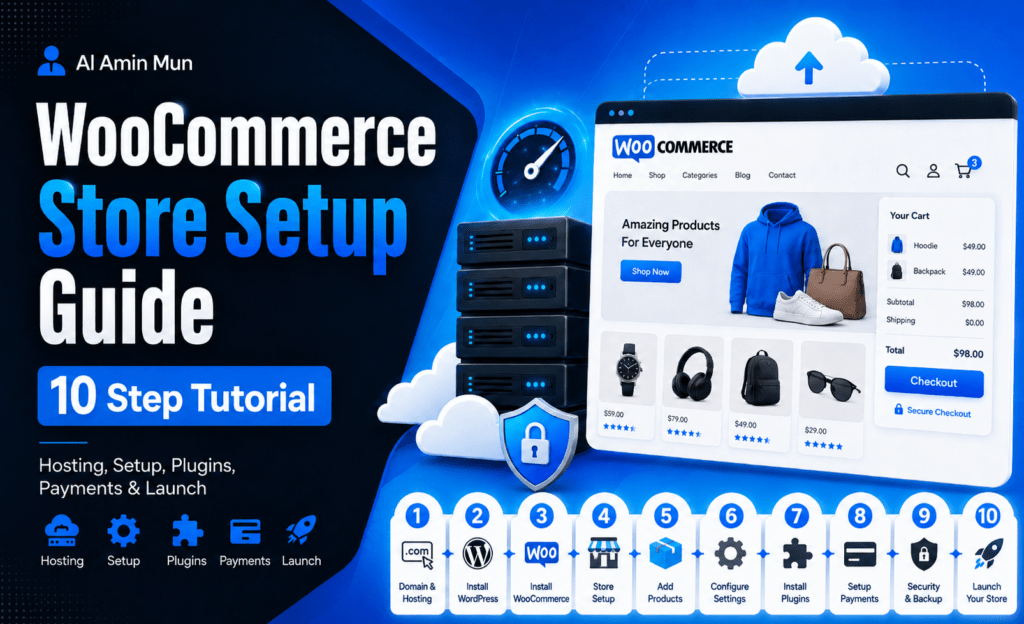
This WooCommerce Store Setup Guide provides a complete roadmap for beginners and businesses looking to build a professional, scalable, and high-performing online store with WordPress and WooCommerce. As one of the most powerful eCommerce platforms, WooCommerce allows you to sell physical products, digital downloads, subscriptions, and services while maintaining full control over your website’s design, functionality, and customer experience.
With proper configuration, optimization, and security practices, you can create a user-friendly, conversion-focused online store that delivers a seamless shopping experience and supports long-term business growth.
What Is WooCommerce?
WooCommerce is a free WordPress eCommerce plugin that transforms a regular WordPress website into a fully functional online store. It provides essential features such as product management, payment processing, shipping options, inventory tracking, tax settings, and order management.
Unlike hosted eCommerce platforms, WooCommerce gives you more flexibility and customization options. You can choose your hosting, design, plugins, and features according to your business needs.
WooCommerce Store Setup Guide
Step 1: Choose a Domain Name and Hosting
Before setting up your WooCommerce store, you need a domain name and reliable WordPress hosting. Choose a hosting provider that offers:
- Fast loading speed
- SSL certificate support
- WordPress optimization
- Good security features
- Reliable customer support
A fast hosting environment improves user experience, SEO performance, and conversion rates.
Step 2: Install WordPress
After purchasing hosting, install WordPress through your hosting control panel. Most modern hosting providers offer a one-click WordPress installation process.
Once installed:
- Log in to your WordPress dashboard
- Update WordPress to the latest version
- Set your website title and tagline
- Configure basic settings
Step 3: Install WooCommerce Plugin
To install WooCommerce:
- Go to WordPress Dashboard
- Navigate to Plugins → Add New
- Search for WooCommerce
- Click Install and Activate
After activation, WooCommerce will launch a setup wizard that helps configure your store details, currency, payments, and shipping options.
Step 4: Configure WooCommerce Settings
Proper configuration is essential for a successful online store.
Store Information
Add:
- Store address
- Currency
- Selling location
- Shipping location
Payment Settings
WooCommerce supports multiple payment methods, including:
- Credit and debit cards
- PayPal
- Bank transfers
- Cash on delivery
- Local payment gateways
Choose payment options that match your target customers’ preferences.
Shipping Settings
Configure:
- Shipping zones
- Delivery methods
- Shipping costs
- Free shipping rules
A clear shipping setup reduces cart abandonment and improves customer trust.
Step 5: Choose and Customize a WooCommerce Theme
Your store design plays an important role in conversions. Select a WooCommerce-compatible theme that is:
- Mobile responsive
- Fast loading
- SEO friendly
- Easy to customize
Customize your:
- Homepage
- Product pages
- Navigation menu
- Checkout page
- Brand colors
A professional design improves credibility and encourages customers to purchase.
Step 6: Add Products to Your Store
To add products:
Go to Products → Add New
Include:
- Product title
- Description
- Product images
- Price
- Inventory details
- Categories
- Product attributes
Write detailed product descriptions that highlight benefits, features, and solutions for customers.
Step 7: Optimize Product Pages for Conversions
A high-converting product page should include:
- High-quality product images
- Clear pricing
- Customer reviews
- Detailed descriptions
- Product benefits
- Strong call-to-action buttons
- Related products
Optimized product pages improve customer confidence and increase sales.
Step 8: Configure Taxes and Security
Set up tax rules according to your business location. WooCommerce allows you to configure:
- Tax rates
- Tax display options
- Tax calculations
For security:
- Install an SSL certificate
- Keep plugins updated
- Use security plugins
- Create regular backups
Step 9: Optimize WooCommerce SEO
SEO helps customers discover your products through search engines.
Important WooCommerce SEO practices include:
- Optimized product titles
- Keyword-focused descriptions
- SEO-friendly URLs
- Image alt text
- Internal linking
- Product schema markup
- Fast loading speed
Step 10: Test Your Store Before Launch
Before making your store live, test:
- Product search
- Add-to-cart functionality
- Checkout process
- Payment methods
- Mobile responsiveness
- Email notifications
- Page speed
A complete testing process prevents customer experience issues.
Best WooCommerce Plugins
Useful plugins for improving your store include:
- SEO plugins for search optimization
- Security plugins for protection
- Backup plugins for data safety
- Cache plugins for speed improvement
- Email marketing plugins for customer retention
- Analytics tools for tracking performance
Common WooCommerce Setup Mistakes
Avoid these mistakes when creating your store:
- Choosing slow hosting
- Using poor-quality product images
- Complicated checkout process
- Ignoring mobile optimization
- Installing too many unnecessary plugins
- Not optimizing product pages
- Missing security updates
Conclusion
A successful WooCommerce Store Setup Guide requires careful planning, proper configuration, and continuous optimization. From choosing hosting and installing WooCommerce to adding products, setting up payments, improving SEO, and testing your website, every step affects your store’s performance.
A well-designed WooCommerce store provides a better shopping experience, builds customer trust, and creates more opportunities for online sales.