

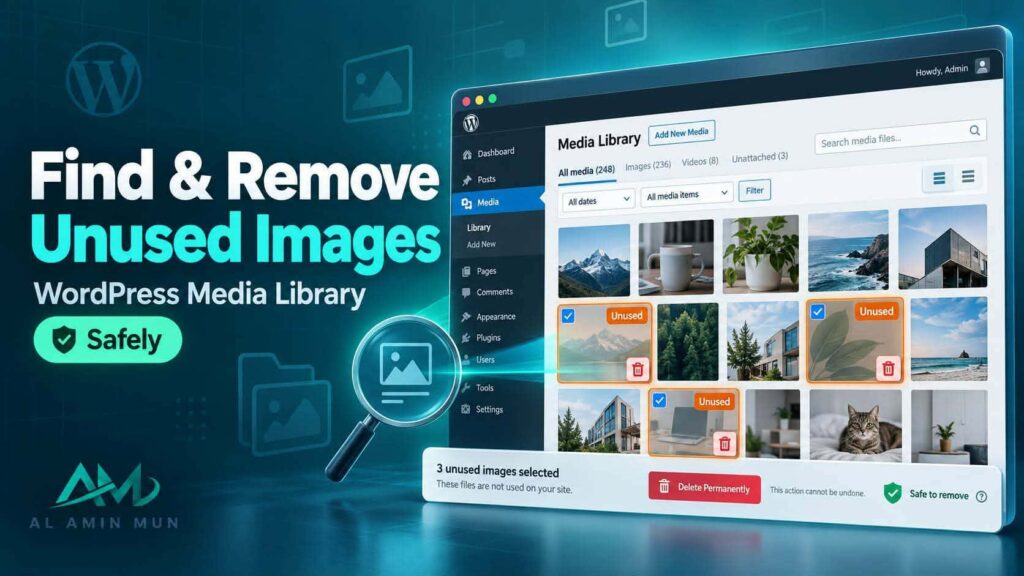
Over time, your WordPress Media Library can become filled with images you no longer need. You may have uploaded images for old blog posts, deleted pages, design experiments, thumbnails, or products that are no longer available.
Removing unnecessary media can make your Media Library easier to manage and may help reduce storage usage. However, deleting images without checking where they are being used can break images on your website.
If you want to find & remove unused images WordPress safely, you need to identify unused files before deleting them. This guide explains how to check your images and remove unnecessary files without accidentally damaging your website.
What Are Unused Images in WordPress?
Unused images are media files stored in your WordPress Media Library that are not currently being used on your website.
They can include:
- Images from deleted posts or pages
- Old featured images
- Duplicate uploads
- Images uploaded for testing
- Product images from discontinued products
- Images from previous website designs
- Unused thumbnails or image variations
An image appearing as unattached in the Media Library does not always mean it is completely unused. An image may be used in a widget, custom field, page builder, theme setting, CSS, or another location without being directly attached to a post.
That’s why you should verify an image before deleting it.
Why Should You Remove Unused Images?
A large Media Library can make website management more difficult. Unnecessary files can also consume hosting storage.
Removing genuinely unused images can help you:
- Reduce unnecessary storage usage
- Keep the Media Library organized
- Make media management easier
- Reduce clutter when selecting images
- Identify duplicate or outdated media files
However, deleting images should be treated as a cleanup task rather than a way to dramatically improve website speed. An unused image stored on your server does not automatically slow down every page on your website.
How to Find Unused Images in WordPress
1. Review the Media Library
Start by going to Media → Library in your WordPress dashboard.
Switch between grid and list views and look for old, duplicate, or obviously unnecessary images.
In list view, WordPress may show whether a media item is attached to a particular post or page.
This is useful for finding potential candidates, but attachment status alone should not be considered proof that an image is safe to delete.
2. Check the Image URL
Open the media attachment and check its file URL.
You can search your website’s content for that image filename or URL. This can help determine whether the image is referenced somewhere outside the normal WordPress Media Library relationships.
For larger websites, manually checking every image may not be practical, so a dedicated media-management or database-analysis tool can help identify potential unused files.
3. Check Posts, Pages, and Products
Before deleting an image, search your important content for it.
Check:
- Blog posts
- Pages
- WooCommerce products
- Featured images
- Galleries
- Landing pages
Pay particular attention to high-traffic pages and important conversion pages.
4. Check Page Builders and Custom Fields
Some websites use Elementor, Divi, WPBakery, custom fields, or other systems that can reference media separately from the standard WordPress editor.
An image that looks unused in the Media Library could still be displayed through one of these systems.
Always check your page builder templates and important custom sections before deleting files.
How to Remove Unused Images Safely
Step 1: Create a Backup
Before removing media files, create a complete backup of your WordPress website.
Ideally, keep a copy of both:
- WordPress files
- WordPress database
A backup gives you a recovery option if you accidentally remove an image that your website still needs.
Step 2: Make a List of Potentially Unused Images
Don’t immediately delete everything marked as unattached.
Create a list of images that appear unnecessary and review them individually or in small groups.
For a large website, a spreadsheet can be useful for tracking the image filename, URL, location, and deletion status.
Step 3: Verify Before Deleting
Ask these questions before removing an image:
- Is it used in a post or page?
- Is it a featured image?
- Is it used on a product page?
- Is it referenced by a page builder?
- Is it used in a widget?
- Is it referenced in custom CSS?
- Is it used by the theme?
- Is it required by a plugin?
If you cannot confirm that the image is unnecessary, don’t delete it yet.
Step 4: Delete the Image
Once you’ve confirmed that an image is genuinely unused, open it in the Media Library and choose Delete Permanently.
For large cleanup projects, avoid deleting hundreds of files at once. Work in controlled batches so you can identify and reverse problems more easily.
Step 5: Check the Website After Cleanup
After deleting images, visit important pages and check for:
- Broken images
- Missing thumbnails
- Broken galleries
- Incorrect product images
- Layout problems
- Missing background images
If you discover a missing image, restore it from your backup.
Should You Use a Plugin to Find Unused Images?
A media-cleanup plugin can make the process faster, especially on websites with thousands of media files.
However, don’t install a cleanup plugin and automatically delete everything it identifies as unused.
Different plugins use different methods to determine whether a file is being used. Some references may exist outside the locations the plugin checks.
Before using an automated cleanup tool, create a backup and review its detection method. Test the process on a staging website when possible.
Best Practices for WordPress Image Cleanup
Follow these practices to reduce the risk of accidental deletion:
- Always create a backup first.
- Don’t treat unattached media as automatically unused.
- Check important pages before deletion.
- Review page builder and custom-field references.
- Remove duplicates carefully.
- Delete files in manageable batches.
- Test the website after cleanup.
- Keep backups until you’re confident everything works correctly.
Conclusion
If you want to find & remove unused images WordPress websites safely, don’t rely on a single indicator such as an unattached Media Library status.
Start by identifying potential unused files, verify where each image is referenced, create a backup, and remove confirmed unnecessary images in controlled batches. Afterward, check important pages to make sure no images or website features have been affected.
A careful cleanup process can keep your WordPress Media Library organized while reducing the risk of deleting files your website still needs.