
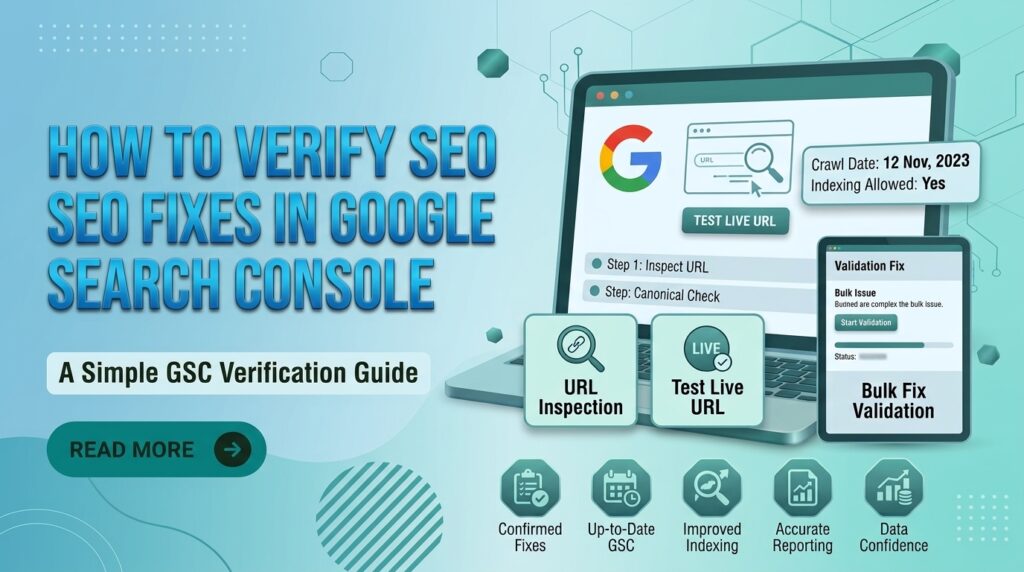
Fixing an SEO issue on your website feels good, but there is one important step people often forget: checking whether Google has actually recognized the fix.
For example, you may have removed a noindex tag, corrected a canonical URL, fixed a broken internal link, repaired a redirect, or resolved a crawling problem. The change may be live on your website, but Google Search Console can still show the old information for a while.
That’s why it’s important to verify SEO fixes in Google Search Console after making technical SEO changes.
In this guide, I’ll show you a simple way to check your fixes and make sure Google can access and understand the updated page.
Why Should You Verify an SEO Fix?
Simply fixing an issue on your website doesn’t mean Google has immediately noticed the change.
Google needs to crawl the page again before its reports can reflect the new situation.
For example, imagine you found a product page showing a noindex directive. You remove the directive from WordPress, but Search Console still reports the page as not indexed.
That doesn’t necessarily mean your fix failed.
Google may simply not have crawled the page again yet.
Verification helps you answer three important questions:
- Is the problem actually fixed?
- Can Google access the updated page?
- Does Google now see the page the way you intended?
1. Start With URL Inspection
The easiest place to start is the URL Inspection tool in Google Search Console.
Open Search Console and enter the URL you recently fixed.
For example:
https://example.com/service-page/
You’ll see information about Google’s current understanding of that URL.
Look at things such as:
- Whether the URL is indexed
- When Google last crawled it
- Whether crawling is allowed
- Whether indexing is allowed
- The canonical URL
- Any detected indexing problems
This is especially useful when you’re checking one specific page rather than an entire website.
2. Check the Live Version of the Page
If you just made the change, don’t rely only on the information already stored in Search Console.
Use the option to Test Live URL.
This checks the current version of the page on your website.
Let’s say you removed a noindex tag this morning. Search Console might still have yesterday’s version stored.
The live test can help you determine whether the current page is accessible and whether the change is actually present.
This is one of the most useful steps when you’re troubleshooting technical SEO issues.
3. Check if the Page Can Be Indexed
After testing the URL, look carefully at the indexing information.
If the page should be indexed, make sure there isn’t an unexpected:
- noindex directive
- robots.txt restriction
- server error
- redirect
- canonical pointing somewhere else
For example, if you fixed a page that was accidentally marked noindex, inspect the current version and make sure the noindex instruction is no longer there.
Don’t immediately assume the fix failed just because the old Search Console report hasn’t changed.
4. Check the Canonical URL
Canonical problems are another common reason a page doesn’t appear in Google the way you expect.
After fixing a canonical tag, check the URL in Search Console and look at the canonical information.
Ask yourself:
Is Google selecting the URL I actually want indexed?
For example, if you want:
example.com/seo-services/
to be the main version, but Google keeps selecting another similar URL, you may need to investigate duplicate content, internal links, redirects, or canonical signals.
A correct canonical setup can help Google understand which version of a page should be treated as the primary one.
5. Request Indexing When Necessary
If you’ve made a significant change to an important page, you can use Request Indexing from URL Inspection.
This is useful after fixing things such as:
- Major indexing problems
- Important content changes
- Canonical issues
- noindex problems
- Significant technical SEO errors
However, don’t treat Request Indexing like a magic button.
It doesn’t guarantee that Google will index the page immediately.
Google still decides when and how the page will be crawled and indexed.
6. Use “Validate Fix” for Reported Issues
There’s a difference between checking one URL and verifying an issue that affects multiple pages.
If Google Search Console has reported an issue across several URLs, you may see a Validate Fix option.
For example, Search Console might report an indexing problem affecting 20 pages.
You fix the underlying problem on your website and then start validation.
Google can then check the affected pages again.
This is useful because you don’t have to manually inspect every URL one by one.
7. Don’t Panic if the Old Error Is Still Showing
This is probably one of the most important things to understand.
You fix an issue today.
Then you open Search Console and see the same error.
It’s easy to think:
“My fix didn’t work.”
But that’s not always the case.
Search Console reports aren’t necessarily updated the moment you make a change.
Google may need to crawl the affected URL again before the report reflects the new status.
So before changing everything again, check:
- When Google last crawled the page
- Whether the current live page is fixed
- Whether the live URL test passes
- Whether the same issue still exists on the website
If the live page is correct, give Google some time to recrawl it.
8. Check Your Page Manually Too
Don’t rely entirely on Search Console.
Open the page yourself.
If you fixed a broken internal link, click the link and make sure it goes to the correct page.
If you fixed a redirect, test the old URL and see where it sends visitors.
If you fixed a canonical issue, inspect the page source and confirm the canonical URL.
If you removed noindex, check the page source to make sure it isn’t still present.
A simple manual check can catch problems that you might otherwise overlook.
9. Check Your Internal Links After Fixing Broken Links
Broken internal links are particularly important because fixing the destination page isn’t always enough.
Suppose your website contains this link:
/wordpress-seo/
but that URL previously returned a 404 error.
You replace it with:
/wordpress-seo-guide/
Now test the original page and click the link.
Make sure:
- The link works
- It points to the intended page
- The destination returns normally
- There isn’t an unnecessary redirect
- The anchor text makes sense
This gives you more confidence that the actual user journey is fixed—not just the URL reported in an SEO tool.
10. Monitor Search Console After the Fix
SEO verification shouldn’t always be a one-time task.
After fixing an important technical issue, keep an eye on Search Console over the following days or weeks.
Watch for:
- New indexing errors
- Pages becoming excluded
- Crawl problems
- Unexpected redirects
- Changes in indexed pages
- Repeated technical errors
If the same issue keeps returning, there may be an underlying problem rather than a one-time mistake.
For example, if pages repeatedly become noindex, check your WordPress SEO settings, templates, plugins, or other systems that may be generating the directive automatically.
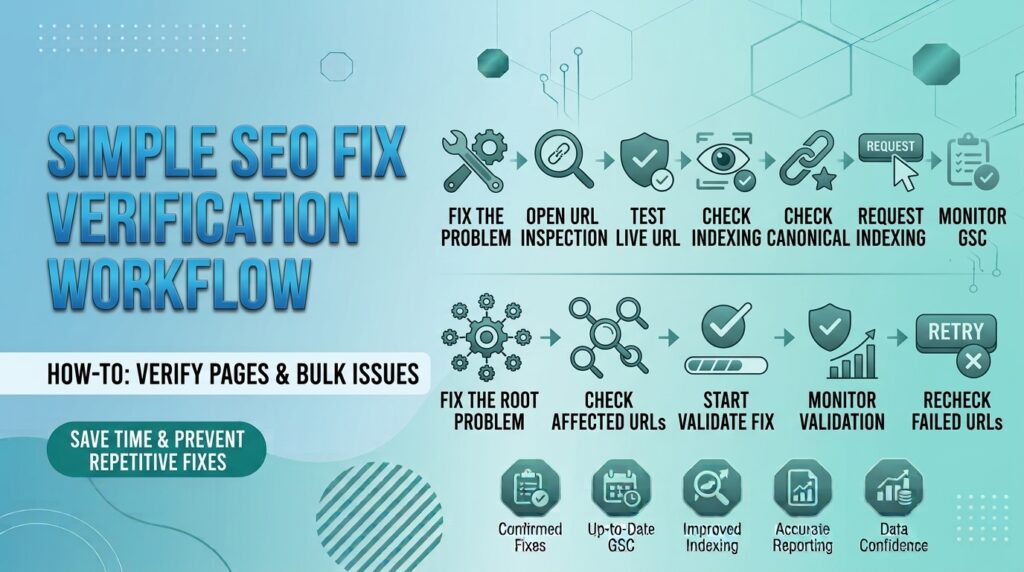
A Simple SEO Fix Verification Workflow
You don’t need a complicated process.
For most individual pages, follow this workflow:
Fix the problem → Open URL Inspection → Test Live URL → Check indexing → Check canonical → Request Indexing if needed → Monitor Search Console
For larger issues affecting multiple URLs:
Fix the root problem → Check several affected URLs → Start Validate Fix → Monitor the validation → Recheck failed URLs
This simple process can save you from repeatedly fixing the same problem without knowing whether Google has actually recognized the changes.
How Long Should You Wait?
There isn’t one exact waiting time for every SEO fix.
Some changes may become visible to Google relatively quickly, while larger indexing and crawling issues can take longer.
The important thing is not to keep making additional changes simply because Search Console hasn’t updated immediately.
First, make sure the current website is correct.
Then use URL Inspection and the live test to confirm the change.
After that, give Google enough time to crawl and process the updated page.
Final Checklist
Before marking an SEO issue as completely fixed, check the following:
- The original problem has been fixed
- The page loads normally
- Google can crawl the page
- The page can be indexed when appropriate
- The canonical URL is correct
- Important internal links work
- Redirects work correctly
- URL Inspection shows the expected information
- The live URL test is successful
- Request Indexing has been used when appropriate
- Search Console is being monitored afterward
Conclusion
SEO work doesn’t end when you make the technical change.
You also need to verify SEO fixes in Google Search Console and make sure Google can see the updated version of your page.
Use URL Inspection to check individual URLs, test the live page when you’ve recently made changes, and use validation when you’re dealing with a larger reported issue.
Most importantly, don’t panic when an old Search Console warning remains immediately after you’ve fixed something. First confirm that the current website is working correctly, then allow Google time to crawl and process the change.
That combination of fixing, testing, and monitoring is a much safer way to handle technical SEO.